
 There are 3 laws of money: #1 It is better to have money than not to have money. #2 It is better to have more of it than less of it. #3 It is better to have it sooner rather than later. Wave Accounting can help creative entrepreneurs adhere to all three laws.
Last week we looked at Wave Invoicing which is essentially asking your client to pay you and how much, this week we look at Wave Payments which is where you actually get the money. We will look at 3 payment scenarios that are typical for creative entrepreneurs.
- Your client pays your invoice through Wave with a credit card.
- Your client pays your invoice through Paypal, another payment service, or send you a check.
- Your client buys something from you in person and pays with a credit card or cash.
The first scenario requires you to setup a payment account through Wave’s chosen credit card processor Stripe. Don’t worry, Wave makes it easy and secure to use this service. As with PayPal and other processors you will be charged a standard $0.30 per transaction and 2.9% of the invoice total for using their services. Once you are setup, send your invoice through the desktop or mobile apps. Your client receives this via e-mail and clicks on the View and Pay Invoice button (you can also attach a .pdf to the e-mail if they prefer). Then they click the Pay Now button.

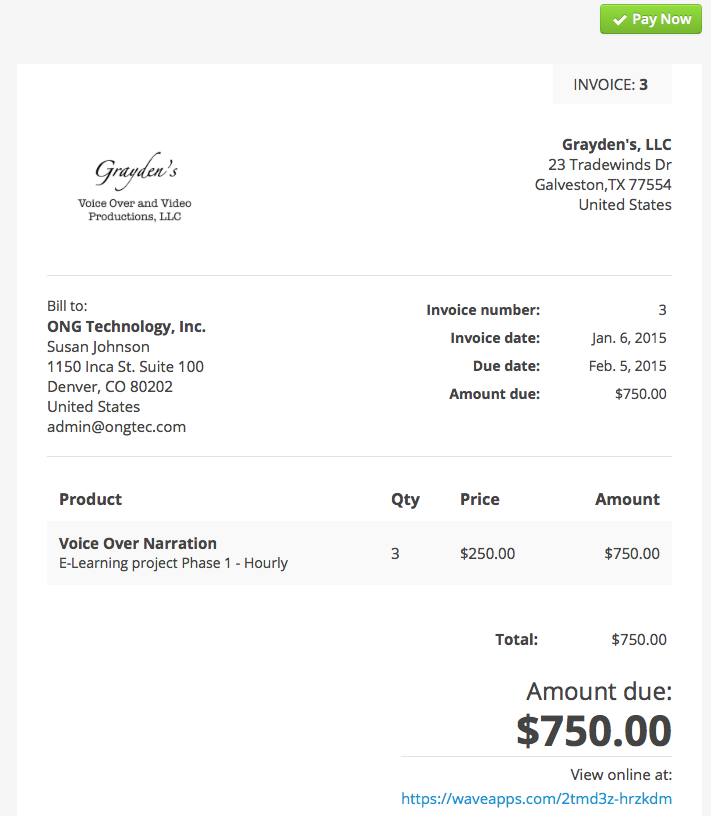
A screen pops up in their browser and the client enters their credit card information and clicks the Send Payment button. If your client doesn’t want to enter their credit card online, but is willing to give it to you over the phone, you can enter the information for them from within Wave.

That’s it. Their payment appears in your bank account and your invoice is marked paid in Wave. You can opt to send a receipt to confirm their payment, but your work (most of which was done by your customer) is done.
In this second scenario you are going to receive payment through PayPal. Some clients may only want to pay you through PayPal, but that seems to be changing as Stripe, Square, Apple Pay and other services become better known. There is no option in Wave to use PayPal to send invoice and payments directly, however there is an easy workaround. Wave allows you to disable payments for a specific invoice, so in the case of a client that will only pay via PayPal you must do the following. When you create your invoice make sure the Disable Credit Card Payments checkbox is checked and add a Memo that tells the client to send their PayPal payment to your PayPal e-mail and maybe include the http://www.paypal.com link as well.
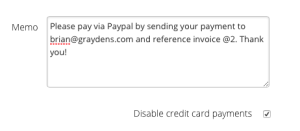
When the client gets your invoice e-mail they must login to their PayPal account enter your e-mail, the amount, and your reference and click the Send button. The money will be transferred to your PayPal account. Yea!

Unlike with Wave’s built in credit card processing which automatically records the payment against your invoice, you will need to manually record that the invoice as paid. This is also how you would manually record any invoice payments made by check.

Wave also allows you to link (read-only) to your PayPal account in the same way you do your Bank accounts, so these transactions will then be downloaded to Wave automatically. Unfortunately you will still have to manually mark each invoice as paid.
In scenario three you will be selling something in person, maybe books at a book signing, autographs at a comic convention, or t-shirts at one of your concerts. This is where the Wave Payments mobile app shines.
First you must download the Payments by Wave app from the Apple App Store for iPhone or Google Play for Android and link it to your Wave login and password. Please note that the same $0.30 and 2.9% of the invoice total fees apply to these transactions. Now open Payments and select (or take) a picture of what you are selling, enter the amount before tax and a description. You can enable an existing tax or setup a new tax in the main menu. You can also record the location via GPS.

For a cash transaction click the $ icon or for a credit card choose the Card icon. In the credit card screen you can enter the credit card type, number, and expiration date. You can also take a picture of the card to automatically fill in these fields (the picture is not saved for obvious security reasons). When you click the Authorize button you have the option of capturing the customers signature. Once the card is authorized it will be recorded in the transactions menu. For both cash or credit transactions you have the option of sending a nicely formatted receipt to their e-mail address.

Important Note: You will not see your payment immediately. Stripe will deposit your funds in your account within 7 days. Some credit card processors require you to deposit a cash reserve to protect them against fraud. While Stripe doesn’t require a cash reserve, they do hold onto your money until it clears (PayPal may hold it for 21 days for some sellers). Although this is a violation of Money Law #3 (but in keeping with Laws #1 and #2), I still prefer the Stripe way, but your mileage may vary.
Just to review: we enabled Payments by Wave and looked at three scenarios for receiving payment from your customers. Wave Accounting has many more features for reporting, budgeting, payroll, tracking receipts, and much more. But I think you will agree we have seen enough for now. Tune in next week for a Non-Accounting post of Good Cloud, Bad Cloud: The Best and Worst Cloud-Based Apps for Creative Entreprenuers.
The Scorecard:


Answering the question (aka the title) from your first post, I find the blog useful so far. I question/challenge the format of the ranking graphic used at the bottom of this post. When I glanced at it and saw the marker way to the left, I assumed you gave the app a poor ranking. A more careful look cleared up that misconception, but still …
LikeLike
Thanks Mike. Very good point on the graphic, i will look at changing orientation to left to right. Still a work in process.
LikeLike